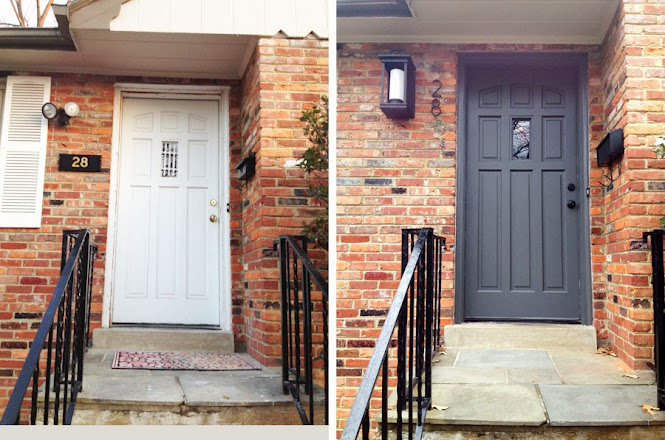
While this might look like a simple before and progress (remember, it takes a while to truly be an "after"), this has evolved since we bought the house. First, I ripped off the storm door before I could even get a picture. And by "I ripped", I mean "I had someone rip". My excuse is that I was 7 months pregnant and in the midst of tax season.
Before I hosted a baby shower this summer (nothing like a deadline!), we had the front door painted and the little jail bars removed from the window.
Most recently, Dad popped off the shutters (yes, "pop" is the proper adjective as it turns out they were affixed with plastic screws), George, our resident electrician, removed the spotlight and put up a new light fixture, and Andy painstakingly put up new house numbers (there are 4 numbers in real life) and a new mailbox.


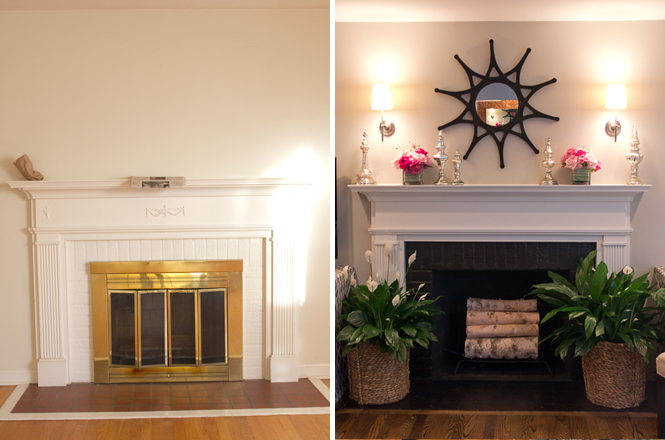
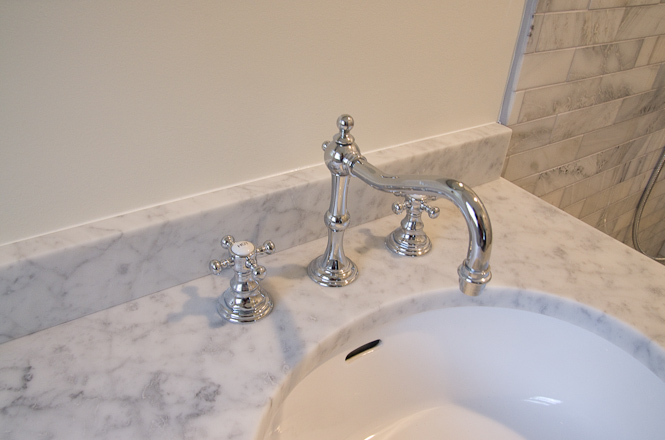
 first row, left
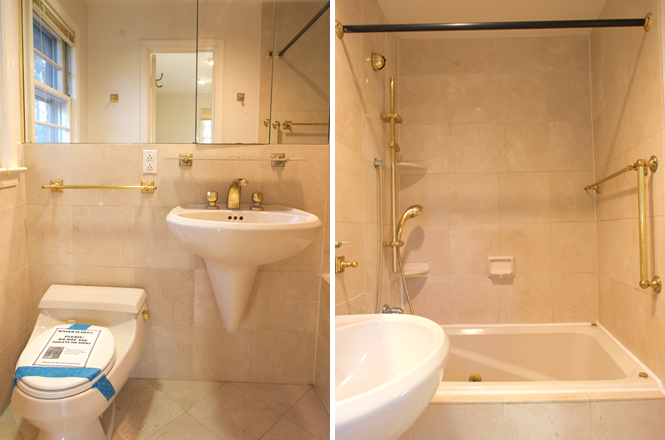
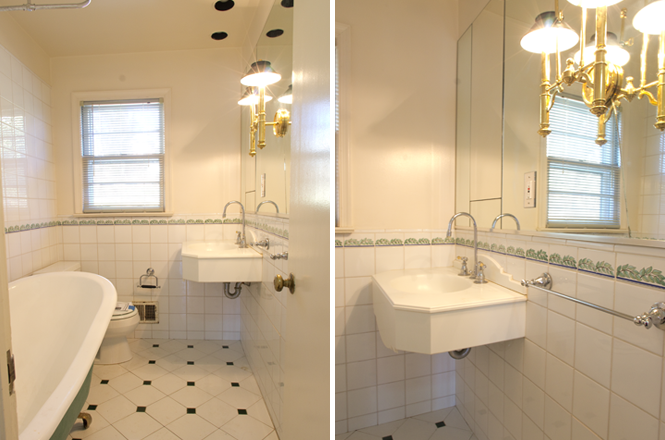


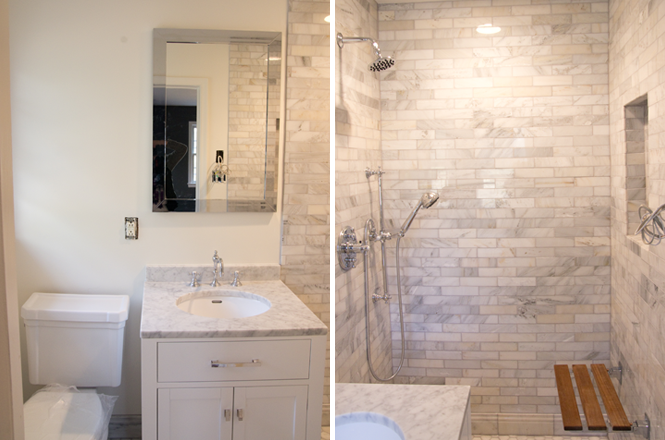
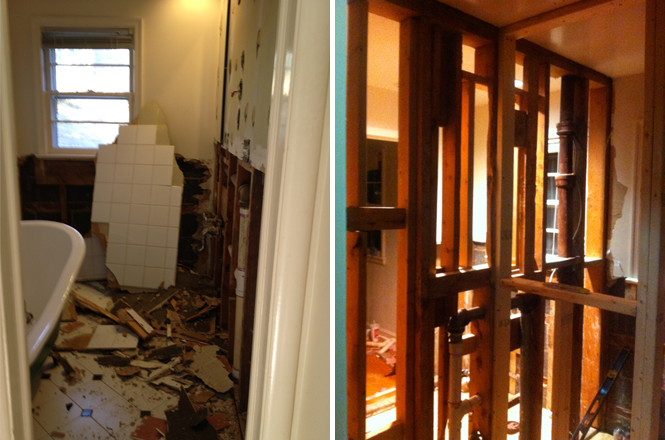
 first row, left
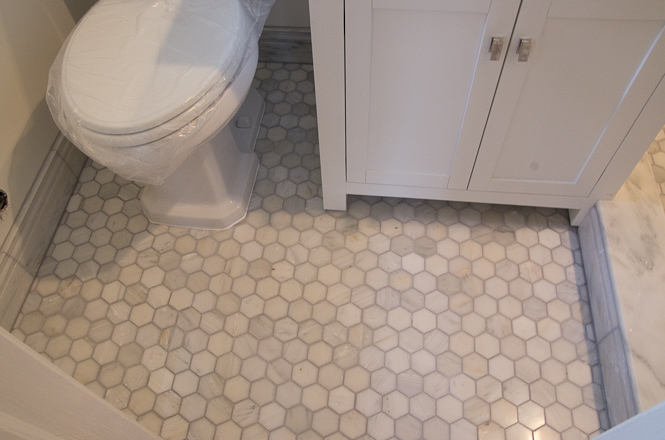
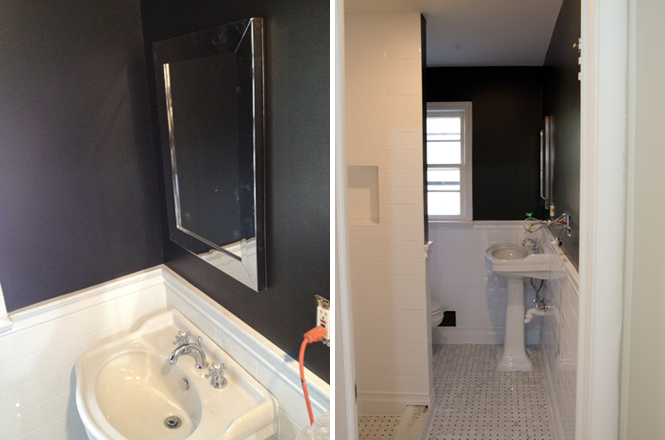